
Recurly
Enable Recurly to work with Revaly’s approval engine to optimize subscription payment outcomes.
Introduction
This guide outlines how to integrate Recurly with Revaly’s approval engine to optimize subscription payment approvals.
Once configured, Recurly sends billing events to Revaly via webhooks. Revaly then assumes control of the approval lifecycle, determining when and how subsequent payment attempts should occur based on its AI-driven optimization models.
Recurly remains the system of record, while Revaly manages approval strategy and execution.
Required Information
The following information is required to configure the Recurly integration with Revaly:
- API Key: Used to authenticate API requests from Revaly to Recurly. This allows Revaly to perform actions such as triggering payment attempts at the optimal time as part of the approval lifecycle
- Dunning Campaign ID: Identifies the dunning configuration associated with failed payments. This ensures Revaly receives the correct billing events for approval optimization.
- Active Gateways and Gateway Codes: A list of all payment gateways configured in Recurly, including their corresponding gateway codes. This allows Revaly to correctly route and process transactions through the appropriate gateway.
Enabling the integration
To enable the integration with Recurly, you will configure API access, create a dedicated dunning campaign, and set up webhooks to allow communication between Recurly and Revaly.
This guide assumes your Revaly account is already configured. If not, contact [email protected].
The integration consists of the following steps:
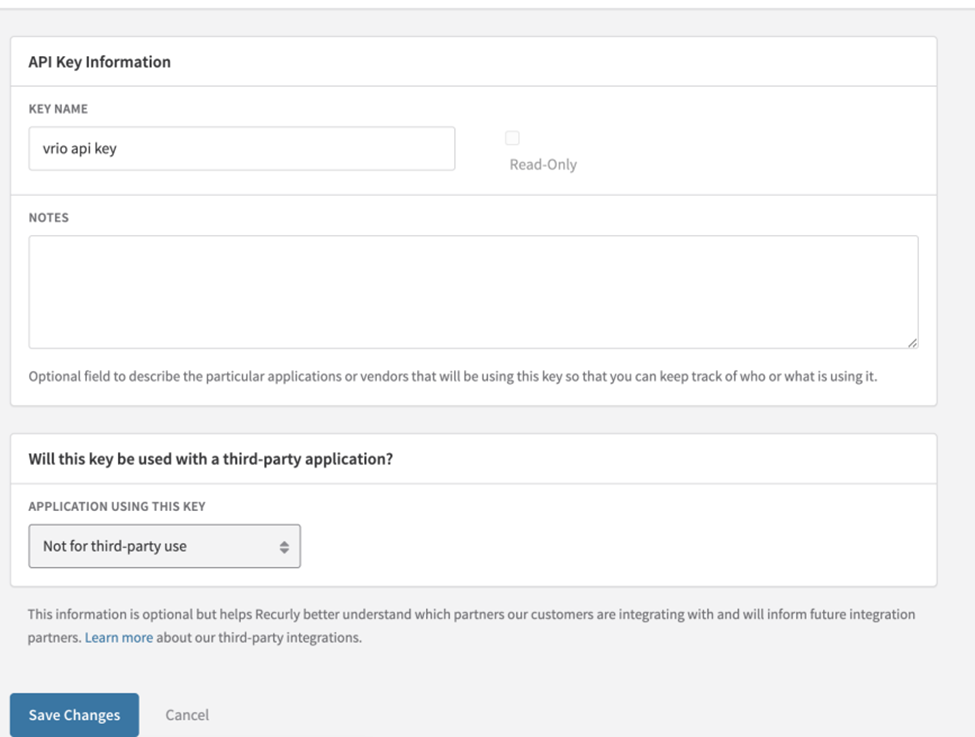
1. Create API Key
- Navigate to Integrations > API Credentials
- Click Add Private API Key
- Ensure Read-Only is NOT selected
- Click Save Changes
2. Copy API Key
- Click the eye icon to reveal the key
- Copy and store it securely for later use

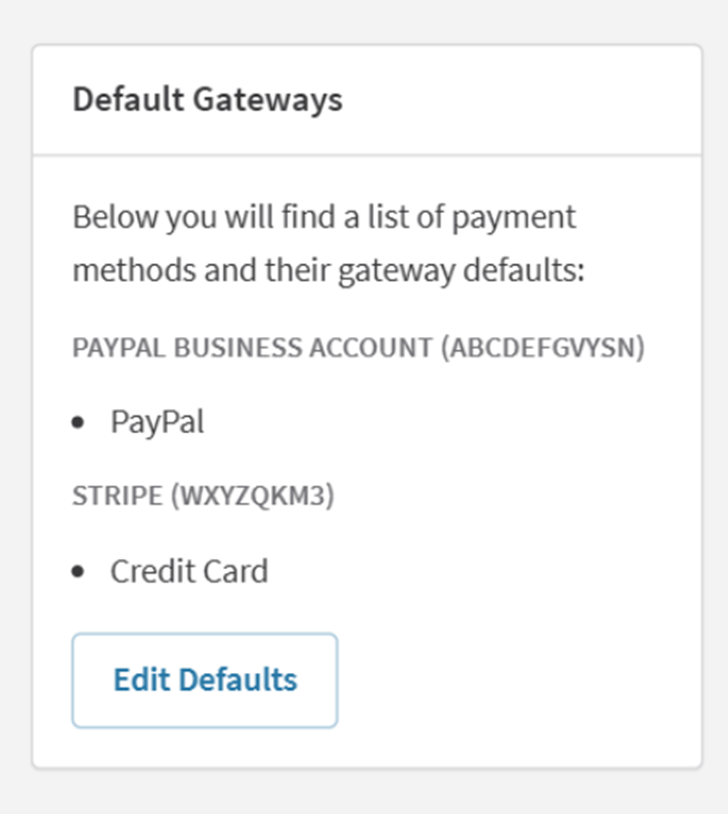
3. Copy Gateway Information
- Navigate to Configuration > Payment Gateways
- Copy and store:
- Gateway names
- Gateway codes
4. Create Dunning Campaign
- Navigate to Configuration > Dunning Management
- Click Create Campaign
Configure as follows:
- Campaign Name: Any value
- Campaign Code: Any value
- Plans: Do not assign any plans at this stage
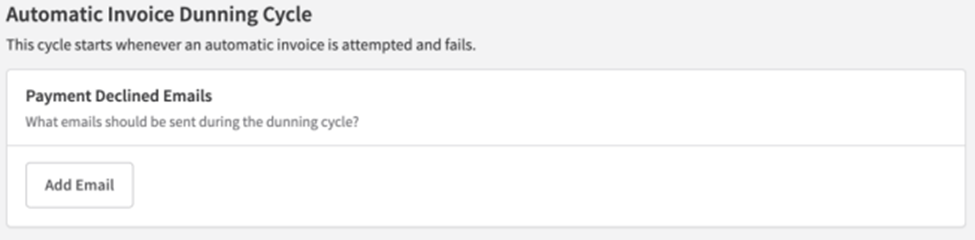
Under Automatic Invoice Dunning Cycle:
- Remove all Payment Declined Emails
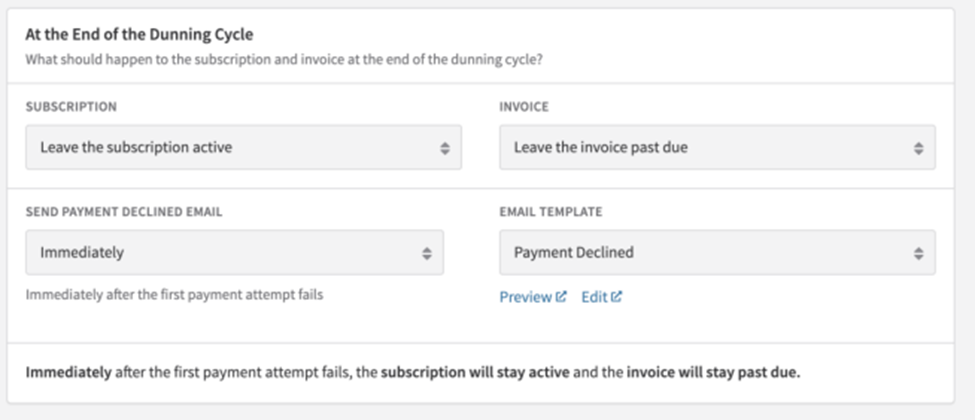
- Under At the End of the Dunning Cycle, leave default behavior unless otherwise instructed
- Ignore the Manual section
- Click Create Campaign
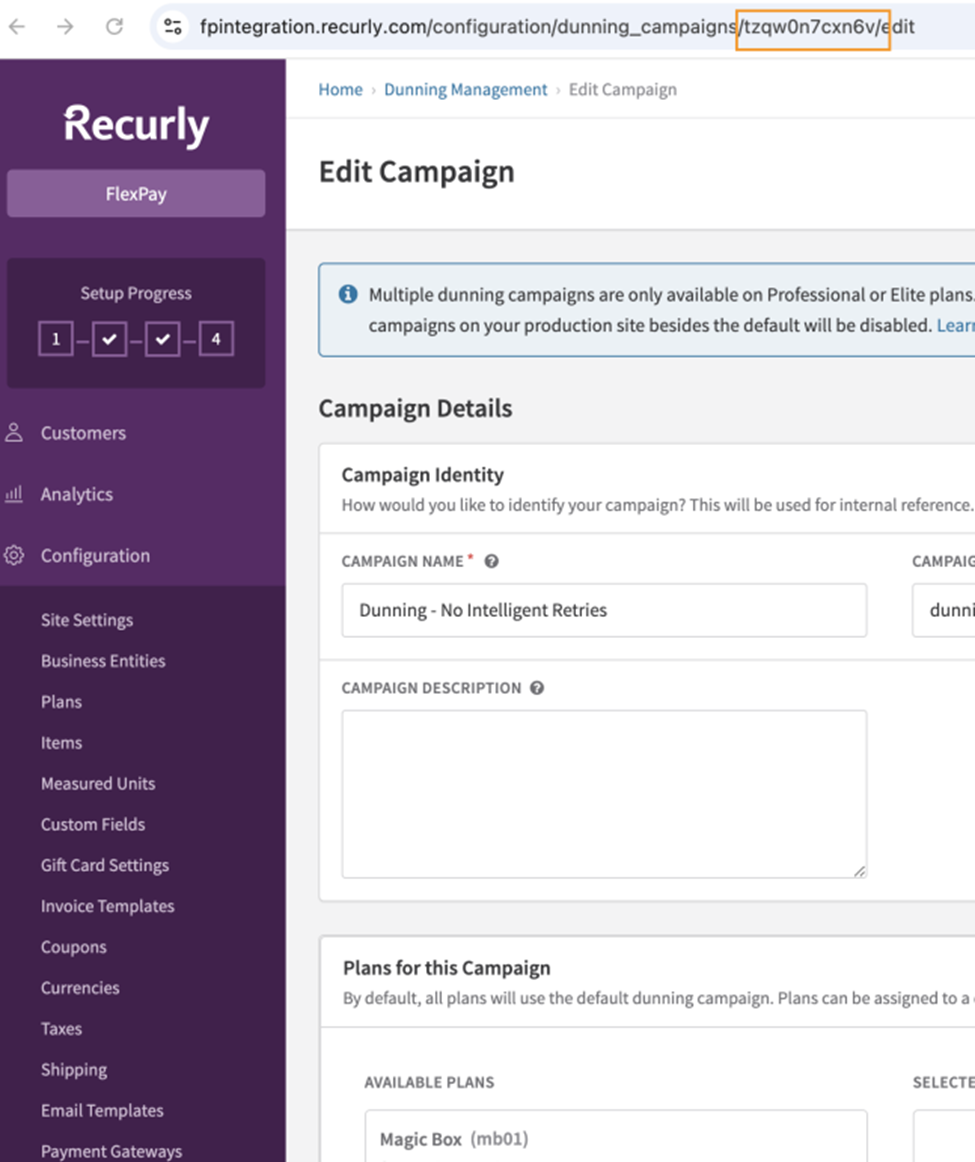
After creation:
- Copy the Dunning Campaign ID from the URL
5. Configure Webhook (Recurly → Revaly)
- Navigate to Integrations > Webhooks
- Click Manage Endpoint → New Endpoint
Configure:
- Endpoint URL: Provided by Revaly
- Example: https://flexpay.sublytics.com/webhook/subscription_updated/{connectionID}
- Format: JSON
Enable the following events:
- payment.failed
- payment.refunded
- payment.succeeded
- payment.voided
Click Save
6. Provide Configuration to Revaly
Share the following with Revaly:
- API Key
- Dunning Campaign ID
- Gateway names and codes
Revaly will complete the connection setup on its side.
7. Go Live
- Assign your billing plans to the Dunning Campaign created in Step 4
Recurly Connection Status
At this stage, Recurly and Revaly are connected, and billing events are being delivered via webhook.
When Revaly receives a webhook event, it validates the associated dunning campaign. If the campaign matches the one configured for Revaly, the transaction is processed within Revaly’s approval engine.
NOTEThe integration is not yet active. Billing plans must be assigned to the Revaly dunning campaign for failed payment events to be routed to Revaly.
Go-Live
To activate Revaly in Recurly, assign the Revaly dunning campaign to your billing plans.
Global Rollout
Set the Revaly dunning campaign as the default.
- All billing plans using the default campaign will begin sending failed payment events to Revaly
If some plans do not use the default, they must be updated individually (see Plan-Level Dunning Configuration) - Global Rollout – update the new dunning campaign built to be the default. All plans using this default will start sending declines to Revaly. If not all plans use the default, then each plan will need to be individually updated (see plan specific in the next slide).
NOTEOnly new invoices generated after this change will use the Revaly dunning campaign. Subscriptions already in an active dunning cycle will continue with their existing configuration.
Plan-Level Dunning Configuration
If you do not enable a global rollout, or if you want to limit Revaly to specific billing plans, you can assign the Revaly dunning campaign at the plan level.
- Navigate to Configuration > Plans
- Select the desired plan
- Click Plan Actions > Edit Plan
- Scroll to Additional Options > Dunning Campaign
- Select the dunning campaign configured for Revaly
- Click Save Changes
NOTEAll new orders who need dunning now will go to that campaign; previous customers will use the dunning campaign they are currently in.